
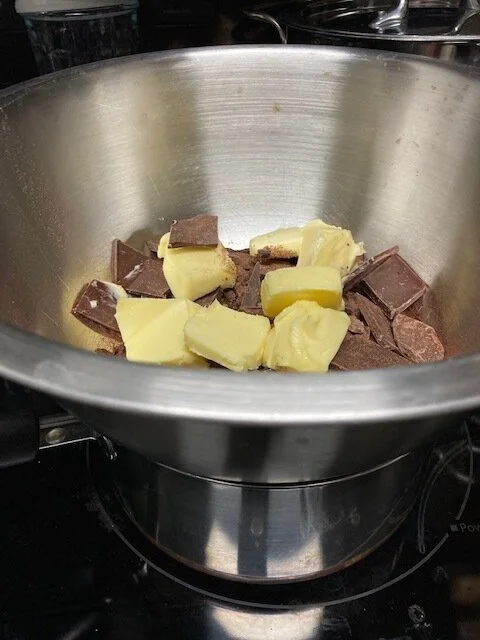
1. Hello! If you’re here you have one of our brownie mix packs in your hands. To start, I like to use a water bath (bain-marie) to melt the chocolate and butter cut into chunks together. But! you could also melt it in a microwave (in a microwave safe bowl, not this one…) on low at about 30 seconds at a time, taking it out and stirring it, and repeating until it is melted (and not burnt) - that’s simple! If you like to do things the hard way like me and use the water bath, you’ll add the butter chunks and the contents of the bag to a bowl that will fit on top of a pot with an inch or so of water in the bottom that you will heat so that it just gently simmers and steams the bottom of your bowl to melt the butter and chocolate. Too hot, and it will scorch your chocolate, too much steam, and you could burn yourself so watch out! Low and gentle is the key to chocolate (and your skin). You also don’t want to get too much moisture into your chocolate mixture at this point , so be watchful, and you’ll be happy if you remember to wipe the bottom of the bowl once you take it off the pot (I hate dripping bowl water onto batter accidentally…if you know what I mean).

1.2 Melting it all together! Add a pinch of salt here if you like too. You don’t have to but it usually gives it a little punch. Also, some people like really salty brownies! Personally, for more delicate single origin brownies, I like just the slightest smack of salt.
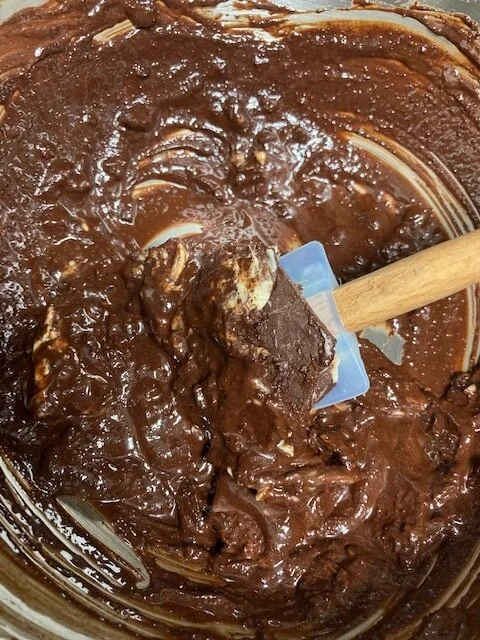
1.3 Still melting! See how it is gently coming together? Stirring it will also help it not heat too much in one spot. Once it has melted together, remove from heat. A confession: I like to remove it a little before it has all melted, and then just stir it until it is melted so it doesn’t get too hot. However you do it, set it aside to cool a bit.
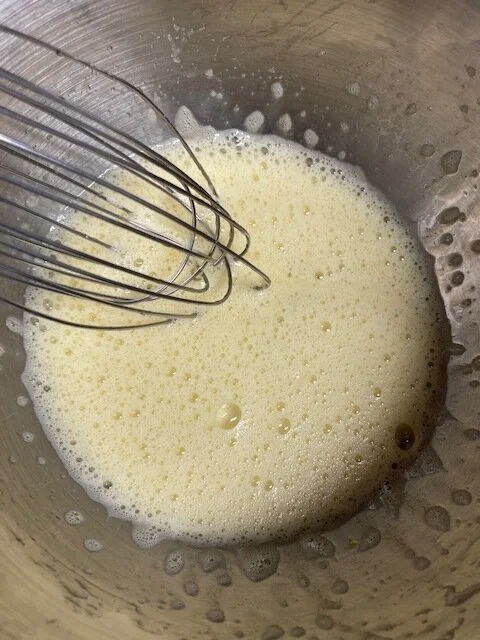
2. Here you are mixing the eggs and sugar together! You can warm up your wrist of steel and whip it by hand with a whisk, or use an electric beater. You choose. As I said I do things the hard way too often so I’m muscle powering it. You want to get to a point where it’s foamy and creamy and light-looking. I find this part also helps to warm up the eggs if they’ve been cold in the fridge, which is also key to the next part, since you’ll be mixing it together with the warm chocolate/butter mixture and you don’t want the egg/sugar mixture to be too cold at that point.
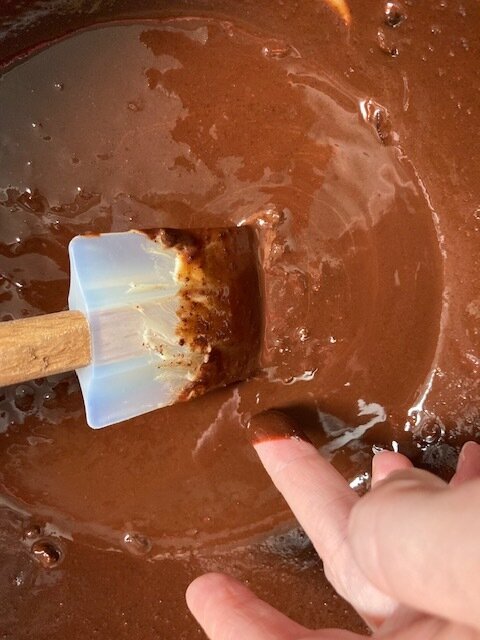
3. Checking the temperature of the slightly cooled chocolate/butter mixture you had set aside while beating the eggs/sugar. You don’t want it to feel HOT, just warm.
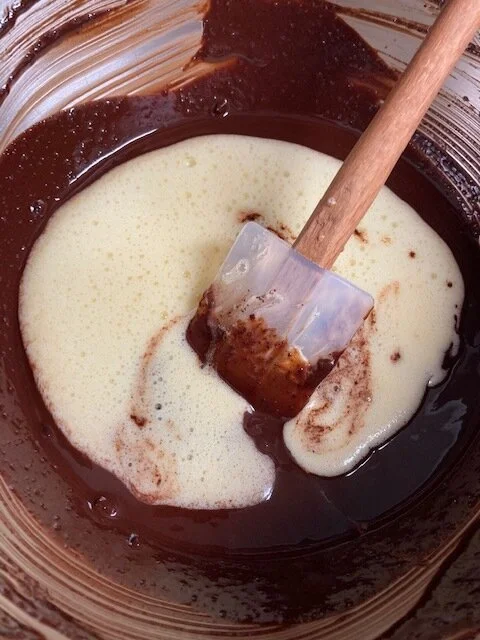
4. Here’s the magic. I love this part. You are adding the egg/sugar mixture to the chocolate/butter mixture. It gets all swirly and textury and psychedelic.
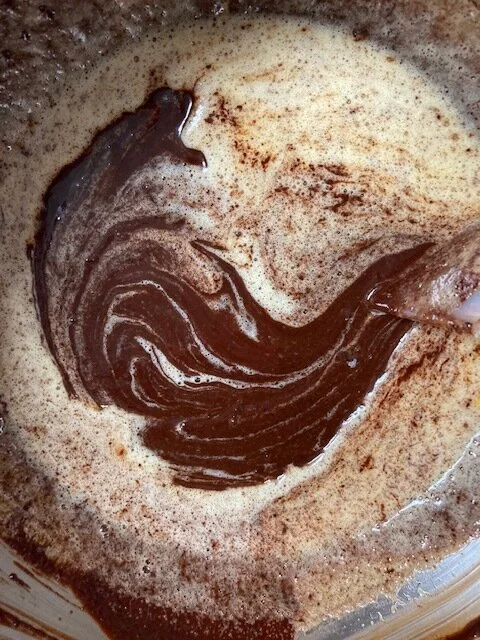
5. Now you want to mix it. Don’t go too wild here. You want a gentle but firm hand. If you’ve ever made ganache before, you know you’re supposed to start mixing in the middle until the mixtures come together. It’s the same here. I usually use a spatula and just start swirling in the middle until I see that smooth, shiny mixture, and then start bringing in the rest of the egg mixture from the sides until it’s blended.
Note (not to scare you, just to prepare you): it shouldn’t, but it could “split” at this point - you’ll see the liquid fat start to pool around clumpy chocolateness. It happens sometimes when there’s a balance of fat and moisture in a recipe that gets thrown off. You might not have had enough moisture from the eggs (maybe your eggs were kinda small). If that happens, I add more liquid. If you don’t have another egg on hand to whip up in a jiff, you could add a little warm water while you do the mixing again. Add little by little until you see it’s coming together smoothly again.
If it’s not the moisture, it could be the temperature (too cold egg mixture, too hot chocolate). But if you let the chocolate cool just enough (but not too much! If it’s all too cold the eggs will just make the chocolate mixture harden too fast), and the egg mixture isn’t too too cold, all should be well.
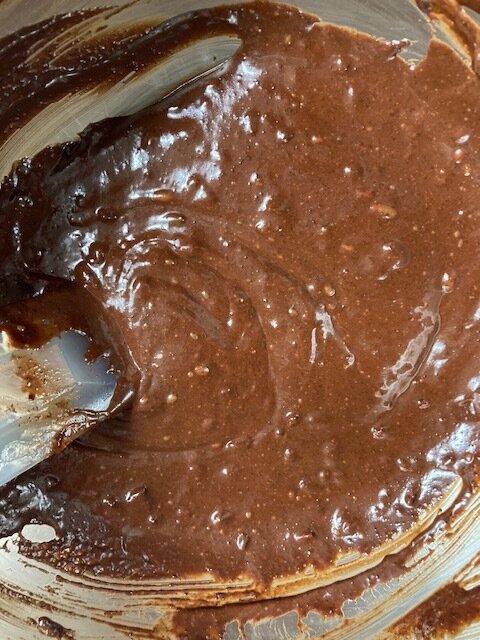
6. Phew you made it past the hardest part! The brownie batter came together smoothly! You see it is shiny, thick, and happy.
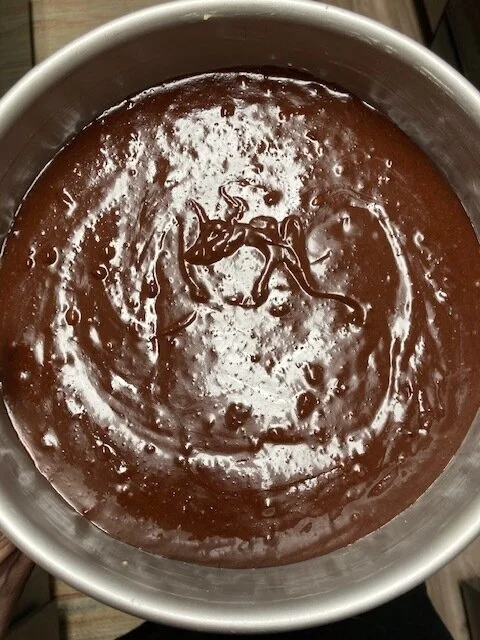
7. OK here you are adding it to your greased pan - I know I said 8X8 pan in the recipe, but you see me using a 8in round pan here. Guilty as charged. They both work.
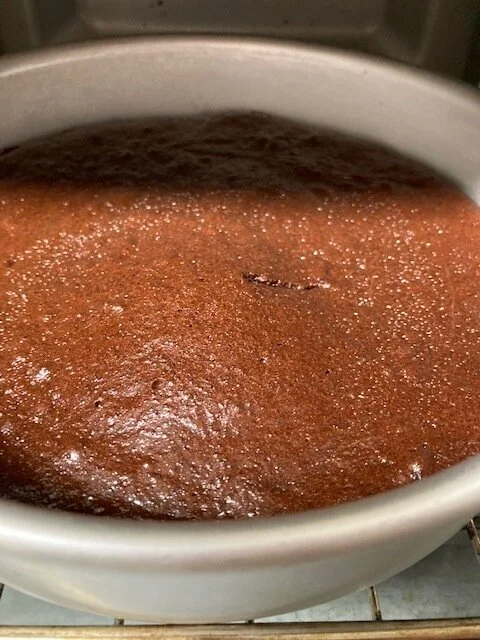
8. You are baking it and it’s looking good! You’re even checking it with something (I use a fork, you could use a knife, toothpick, etc). The fun part with these brownies is that they are fudgey. You don’t want the fork to come out with the same batter look as when you put it in the oven, but you don’t want to cook it totally dry because where’s the fun in that? Usually the test fork looks kind of oily with some brownie bits stuck to it. There should be a nice sugar crust all around on top if the eggs and sugar were whisked enough too. If it’s cooking in one spot but not enough in another, rotate the pan so it cooks evenly.
Once you get to your sweet spot of doneness, take it out and let it cool. It’s easier to cut once it’s cool, and also you can taste more of the special flavors from whichever origin you have.
Note: because of the eggs in this flourless recipe, you might look in the oven at some point and see and huge brownie puff inflating. If that happens I just jab it with a fork and it deflates. It’s both exciting and delicious!